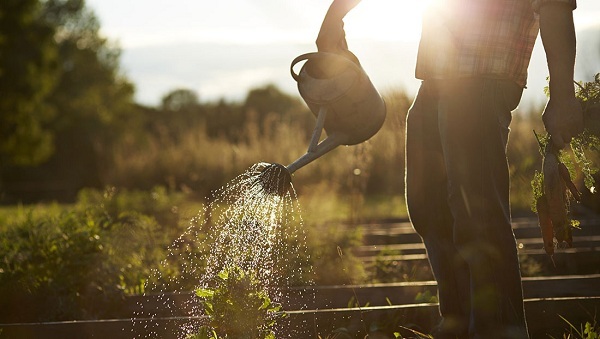
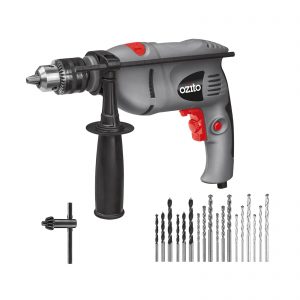
If someone had asked me some years ago if I knew when was best to water my garden, I’d have said, “duh! Water it when it’s dry or a couple of times a week and don’t water in the middle of the day.” Now, after much research and experience, I don’t have such a simple answer but I do have a lot more knowledge and much healthier and happier plants!
In actual fact, the only part of my answer that I still hold as true is “don’t water in the middle of the day.” That’s never a good idea because the water just evaporates so quickly. But other than not watering during the day, what else do you need to know about watering your garden? Well, let’s take a look at ten of the main things that will help you to grow a gorgeous and flourishing garden.
- Time of Day
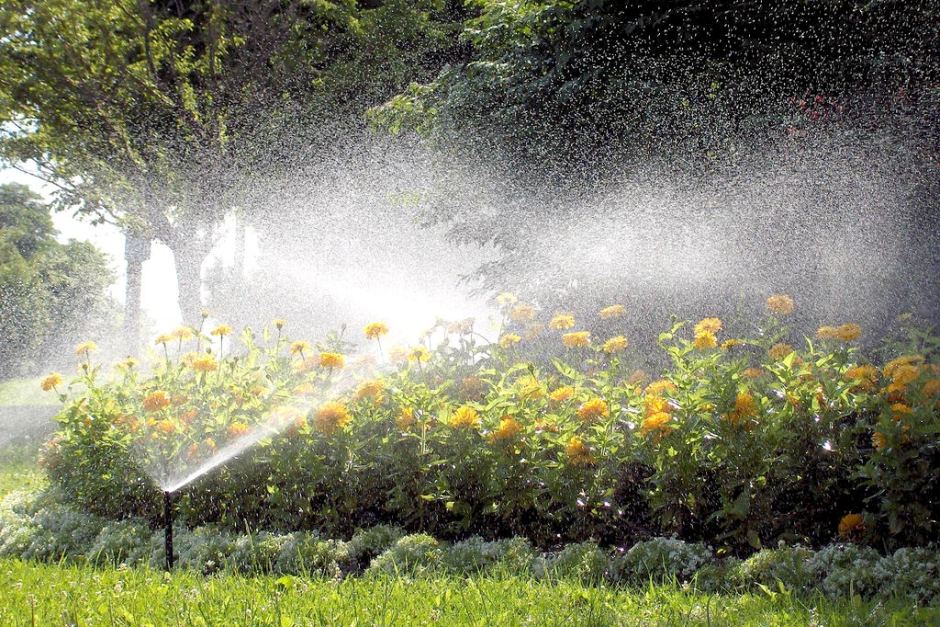
The best times of the day to water are early in the morning, late afternoon or in the evening. This is when the soil is coolest and will retain the most moisture. It will also help plants to get through the day ahead or the next day with enough water. Watering during these times is a particularly good idea if you’re using a sprinkler, as droplets can stay on the leaves of plants and during hot days, can act as a lens and singe plants!
- How Often to Water
Many people actually water their gardens more often than needed, which can encourage plants to produce shallower roots and become more dependent on water. When you water less often, plants put down deeper roots to search for moisture in the soil. Generally a good soaking once a week is better than sprinkling every two days.
How often to water does depend on the type of plants you have and the weather. New seedlings will need more frequent watering than a well-established tree. Some crops need more water than others. Do some research on the types of plants you have and find out what kind of water consumption needs they have. You might find that some plants are surprisingly drought-tolerant.
When to water also depends on your climate and the season – you will likely need to water less in Winter than in Summer.
- Weather Conditions and Season
Your plants definitely won’t need as much water in Winter as in Summer and Spring, but they still do need watering, even if there’s a lot of rain or snow. Sometimes it may appear that there is a lot of rain but not all of it may be reaching the garden. Sometimes rain is accompanied by wind that means rain doesn’t get the chance to give the garden a thorough soaking, and heavy winds can also have a drying effect on plants and soil.
Sometimes people worry that if they water their plants when it’s really cold, the water in the wet soil may freeze overnight and injure the roots of plants. In fact, as long as you water early in the day, watering plants can create help protect them against night-time freezes, because the water absorbs heat during the day and helps keep the area around the roots of your plants a little warmer.
Whilst your plants still need water in Winter, make sure that the ground doesn’t become waterlogged and stay soggy for too long, because this can cause root rot.
During Summer, your garden may need to be watered 3 times per week, however that is the maximum it should ever be watered, unless you have brand new seedlings that need particular attention. Generally, your garden will likely only need to be watered once or twice a week in Summer depending on your garden type and plants, as well as the climate. Using water-saving practices can also help reduce the need to water so often in Summer.
Be aware that you don’t over-water just because it’s hot outside. Some people panic when it gets very hot and everything looks dry, but you may find that if you dig a little, there’s more moisture under the surface than you think there is. A little research on the internet or talking to your local garden centre will provide good advice for your climate.
You will also need to be sensitive to the weather throughout the year, regardless of the season. In many locations, it’s not uncommon to have rain in Summer or extended dry periods in Winter. Be aware of the weather conditions and adapt your watering practices accordingly.
- How Much Water to Use
Sometimes the soil may look dry on the surface but in fact, just underneath there is plenty of moisture. You can check this by digging a hole to see how dry the ground really is. If it’s moist where the roots are, you should consider leaving the watering until another day.
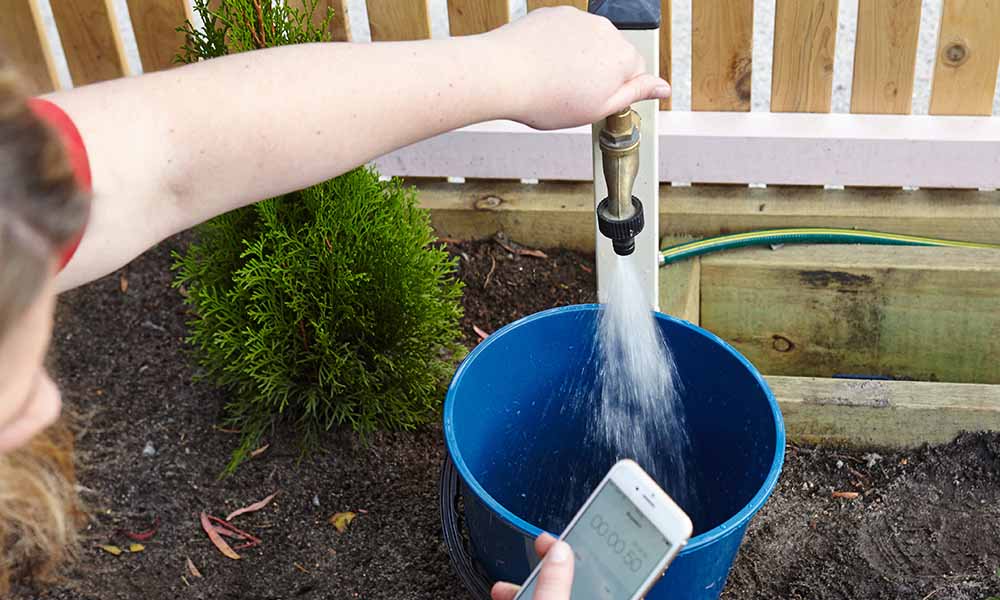
A general rule of thumb is that a garden needs around an inch of water per week. This can be tricky to estimate however, so manually checking the soil is always a good idea. If you have reticulation or a flow meter attached to your tap, you can often set the quantity of water according to the square meter area to be covered. Another way to estimate is to put a little cup or can in the soil and don’t stop until it has collected an inch of water from the sprinkler.
It’s important to give some thought to how much water you are using. Water must reach the roots of plants, not just cover the upper soil. Suitable watering also means that fruit and vegetables are particularly dependent on evenly moist soil in the time until crops are ready for harvest. Water needs some time to seep into the soil, so give it some time after watering before checking to see if the soil is moist deeper into the ground. If you check straight after watering, the water may still be largely in the top layer of the soil.
Watering your plants deeply is crucial. The water must get down deep to encourage roots to grow down. If water starts to make puddles on the surface, move on to a different section of the garden but come back to it to make sure that the water is soaking in thoroughly. It’s better to water less frequently but more thoroughly. Watering deeply once or twice a week is much better than a shallow sprinkling every second day.
As well as giving plants enough water to get down to their roots, it’s really important to make sure you don’t over-water them! When plants get waterlogged, the root cells can start to drown without sufficient oxygen leading to root rot or other problems. Be aware that plants can sometimes trick you. In hot weather, it might seem like leaves are drooping but this can be the plant’s natural defence against heat by exposing less of the leaf area to the sun, so check the soil rather than relying on how the leaves look.
- Where to Water
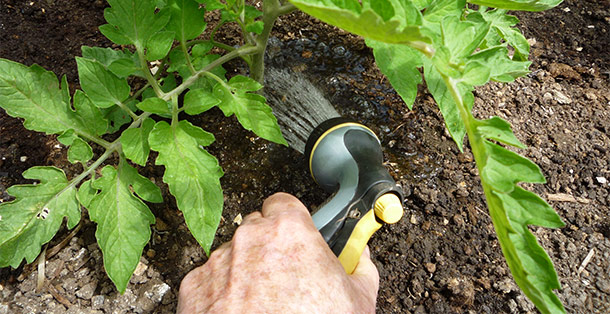
The obvious answer to where to water is “in your garden,” but it’s not quite as simple as that. How you water your plants is also important. One of the key golden rules about where to water plants is to avoid wetting the leaves and foliage. This is not where plants absorb water, so it often just sits on the leaves and doesn’t soak in. This is wasteful and can also cause disease or cause plants to be singed.
The roots are what absorb water, but the root network or zone is the critical area to water. The root zone is the area of soil the surrounds the roots of a plant. It’s important not to water just directly onto the roots of a plant all the time, but to make sure you have a radius around the plant that you water so that the roots are encouraged to spread out. Some plants have deeper and some have shallower root zones and dense or clay soils can impact a root zone. Plants that have an insufficient root zone will not absorb the nutrients they need.
As such, water approximately 1-3 feet out in a circle from the centre of a plant, not just at its base. Spread the water out and distribute it evenly, rather than pouring it in a steam. If you always water just at one root point or at the base, it can lead to one-sided root growth and poor nutrient absorption.
- Type of Soil
In order to water most effectively, it’s important to get to know your soil. Do some digging in the garden to find out whether you have clay or sandy soil as that will make a big difference to how you water.
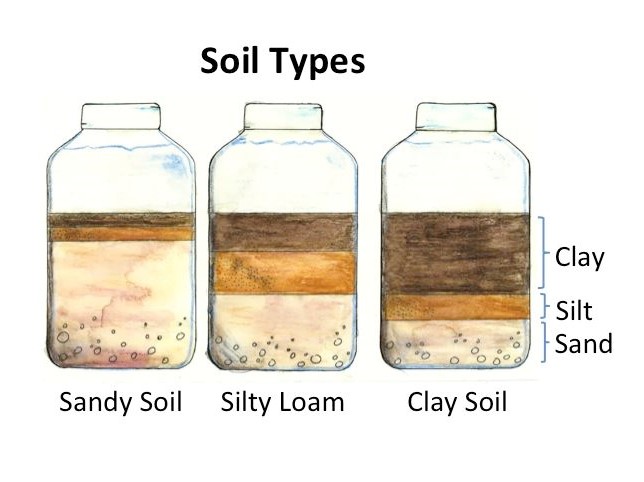
To determine what kind of soil you have, you need to do a simple test. Firstly, take a cup of your soil into a jar (about a finger-length from the top) and add water until it is ¾ full. Stir it well and then leave it for a couple of hours. Once it’s settled, you’ll see layers of soil. The bottom layer is sand, then silt, then clay and if there’s a layer on top, it will be organic matter. The amount of each layer will tell you what type of soil you have.
If the clay layer is the thickest of the layers, you have heavy soil with lots of clay. Clay-laden soils can be particularly challenging. They have an electrical charge that draws water away from plant roots. Clay also drains very slowly, but it is good at retaining water in hot weather.
If the silt and organic layers are the biggest, you have a loamy soil and this is the best kind of soil. If you take a handful and squish it into a ball, it will hold a ball shape but still crumble easily.
If the sand layer is the largest, your soil is sandy. If you take a handful and squeeze it, it won’t hold a shape at all. Water flows more easily through sandy soils, but if the soil is too sandy, the water can drain way too quickly and may even be taking dissolved nutrients with it. You can find more details on the soil test here.
You can also check how fast your soil is absorbing water by using a coffee can or other tin can or cylinder with the top and bottom removed. Push one end into the soil a few inches and fill the can with water. Let it drain completely and then fill it again and see how long it takes for the water level to by an inch. If it takes more than four hours, you may have a drainage problem. If it drains too quickly, your soil may be too sandy.
Both clay and sandy soils can be turned into a more ideal loam soil by mixing organic material like compost into it. Once you’ve discovered what type of soil you have, you can consider how to improve it in order to make your watering easier and more efficient. If you want to leave the soil as it is, make sure you remember to water correctly for the type of soil you have.
- Water Quality
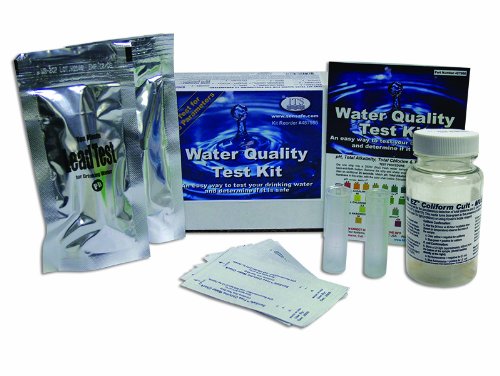
When you water a plant, the water is absorbed by the roots and it travels up to the branches, leaves, flowers and fruit. If you have water that is contaminated in some way, it could cause problems. If the plant is purely ornamental, it may not be such an issue, although contaminated water can cause plants to become stunted and even die. If you are eating the plant though, it’s very important to make sure your water quality is good.
Water that comes from a source that is suitable for drinking is safe to use on edible plants, however if your water comes from a well, pond, rain barrel or bore it may need to be tested. Even rainwater can become contaminated from roof run-off that may contain heavy metals or waste from birds and animals.
So how do you know if your water is safe and good quality? There are a number of pond or water testing kids that you can buy to test your water at home. Your local Department of Public Health may also have a service for water testing. A visit to your local garden center may also prove useful in providing you with advice or a testing kit.
- Boosting Water Effectiveness
Before watering your garden, it’s important to check that there are not a lot of dead leaves in your garden beds. Watering when there’s a layer of fallen leaves can mean that the leaves get soggy and this can lead to mold or rot. A layer of leaves will also prevent a lot of water from seeping into the soil, so get out the rake if there are lots of leaves in the garden.
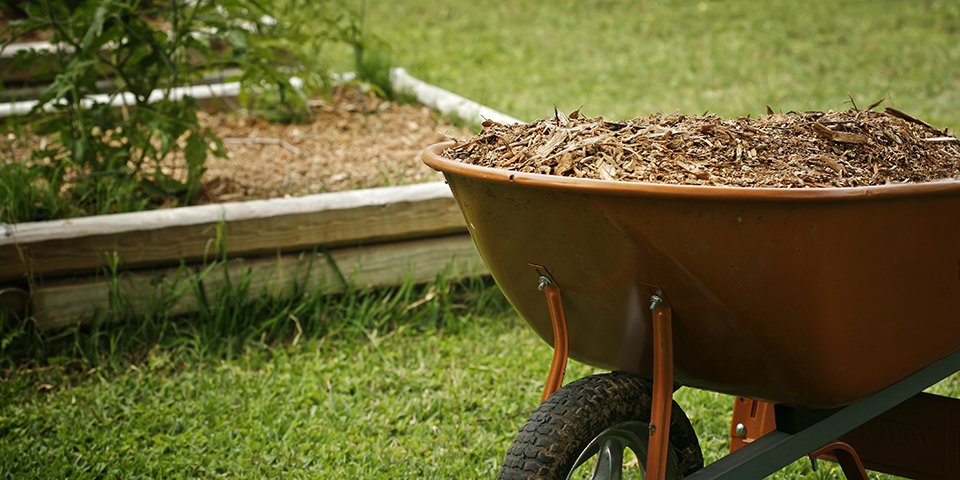
In addition to raking dead leaves from the garden, there are many other things you can do to boost water effectiveness. Adding an organic mulch such as wheat straw, lawn clippings, finely ground bark or wood chips, pine needles, seaweed or chopped up leaves spread on the ground under plants can provide a really useful barrier between the moist soil and the sun. A two to three-inch layer of mulch acts much like a shade cloth in Summer and helps stop the soil getting baked.
Compost is another substance that helps enrich the soil and provides nutrients for your plants, as well as making your soil more effective in retaining water and draining properly. The best results for enhancing your soil come from adding organic compost and mulch to your garden regularly over years.
You may also like to investigate wetting agents, particularly for pots or containers in Summer. Wetting agents are products that help soils that have become too dry and possibly hydrophobic to absorb the water rather than repelling it.
Another product you can buy that may help boost water the water holding capacity of soils is a water-storing crystal or grain. These are tiny grains that hold up to 400 times their weight in water. One spoonful of crystals may absorb a litre of water. The crystals don’t save water, but they do boost the holding capacity of the soil so that more water is held for plant use and a plant will last longer between drinks. Do some research or get advice to find out the best product for your garden and soil.
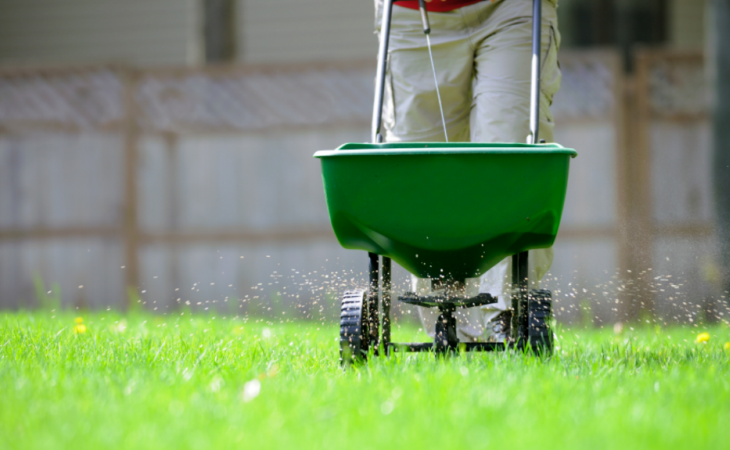
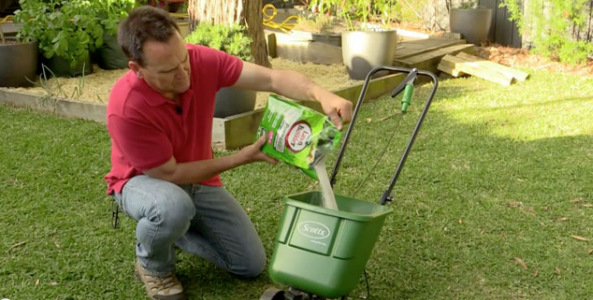
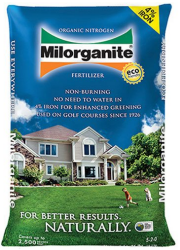
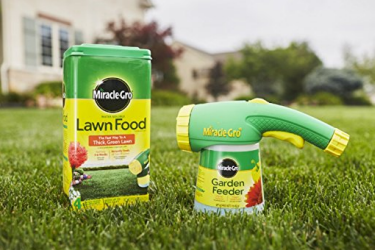
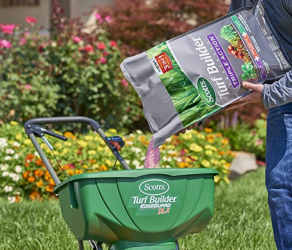
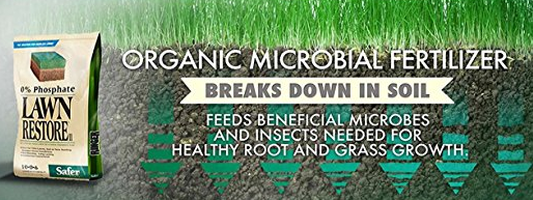
Fertilizer is another product you can use to boost the effectiveness of your garden and soil. You can find information on the best fertilizers for your lawn here.
- Watering Wisely
There are many things we can do to water our gardens wisely and save water and money. Here are a few water-saving tips:
Plant your garden strategically. For example, you can create little reservoirs around thirsty plants by building a little wall of soil around them so that the water is held in place and allowed to drain slowly. If you’re growing things in pots, group pots by size because larger pots will dry out more slowly and that way it’s easier to not over-water some plants and underwater others.
Grow thirsty plants together. If you are able to group plants with similar needs together, that can be a great way to reduce water wastage. For example, lettuce likes moisture while herbs tend to prefer drier conditions. If you plant them together and water for the lettuce’s needs, the herbs will still grow but may be tasteless. If you water for the herb’s needs, the lettuce may be bitter.
Think about the life cycle of your plants. Recent transplants need frequent, light watering because they have shallow, young roots. Many crops need steady watering at the time of flowering and fruit formation and other crops need to have their water reduced as the crop reaches maturity. Knowing what your various plants need helps reduce unnecessary watering.
Monitor automatic timed watering systems. If you have a sprinkler or reticulation system on a timer, you can manually override it or turn it off if you’ve had a week with lots of rain, rather than just letting it run when it’s not needed. It does take a little more effort but it will save water.
- How to Deliver Water to Your Garden
There are two main ways to deliver water your garden – hand watering and reticulation.
Hand-watering is best for small gardens or for supplementing reticulation systems to water things like potted or container plants that may not be reached by the reticulation, or if you need to water new plants more frequently than the rest of the garden.
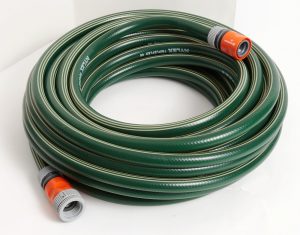
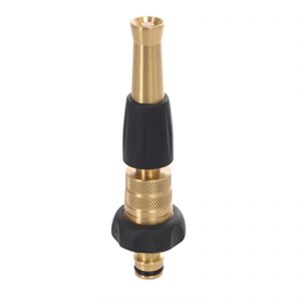
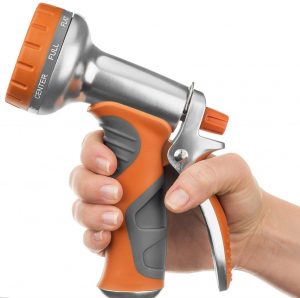
When hand watering, use a hand-held sprayer to save water. Don’t use a jet setting, nor a fine mist. You want to find a setting in between those two that gives good water coverage but also is strong enough to allow water to soak deeply into the soil. Several different nozzle types for hoses are shown here.
You can also use a manual sprinkler attachment to your hose. Make sure it’s not watering in too big an area, otherwise a lot of water will just be wasted. It’s better to have it reaching a smaller radius but move it around more. If you’re using a manual sprinkler attachment, you’ll need to set a timer on your phone, alarm clock or perhaps oven.
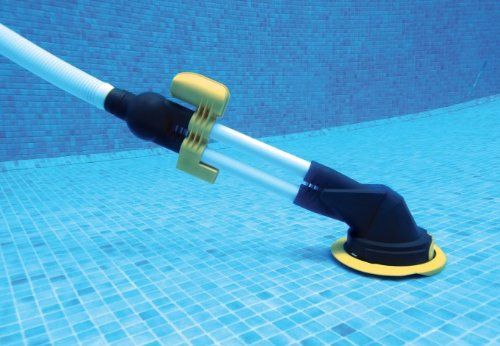
There are a myriad of different reticulation systems available – from sprinklers and soaker hoses to drip irrigation systems and more! The type of reticulation you use for your garden will depend on what plants you have and the type of your garden. Sprinklers are best for lawns whereas drip irrigation systems are best for edible produce. Exploring different types of reticulation is a subject for another article, so suffice it to say that it’s a good idea to get advice from a professional when it comes to deciding on what reticulation is best for your garden.
So now you’re equipped to provide your garden with the best quality watering. There’s a lot of information on watering to take in, but if you even just remember the basic rules, you’ll soon have a thriving garden. And the next time someone asks you, “hey, do you know when is the best time to water your garden,” you’ll be able to give them a much better answer than just, “when it’s dry.”


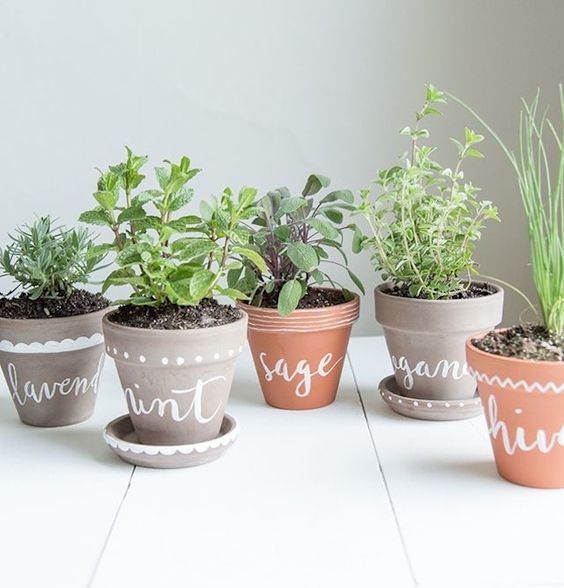
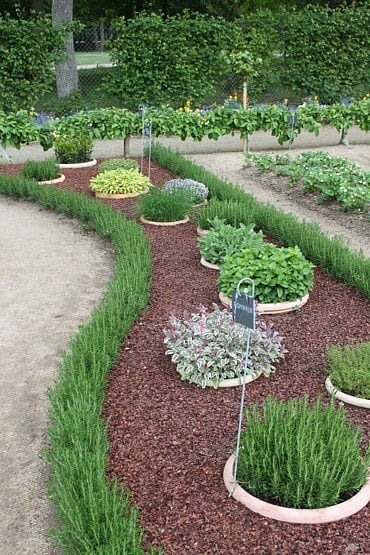
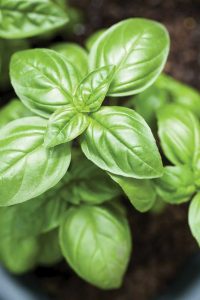 Basil
Basil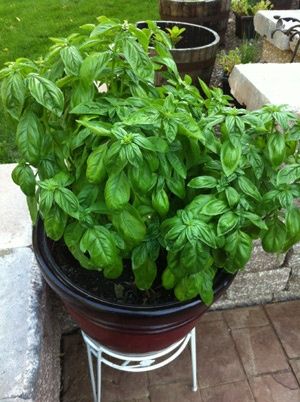
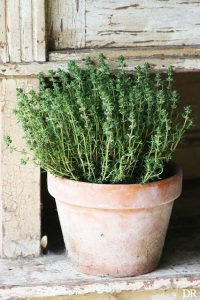
 Parsley
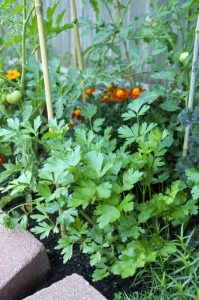
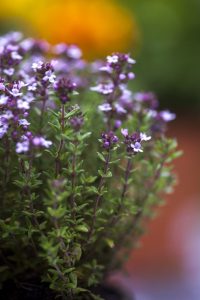
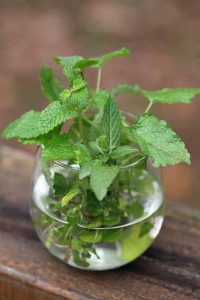 Mint
Mint 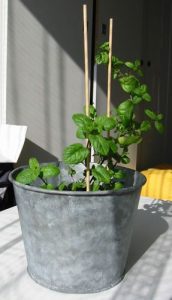
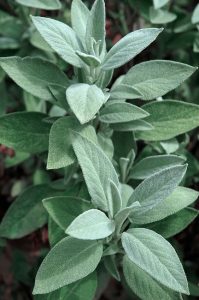 Sage
Sage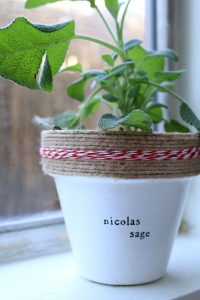
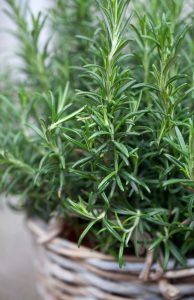 Rosemary
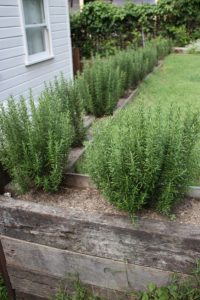
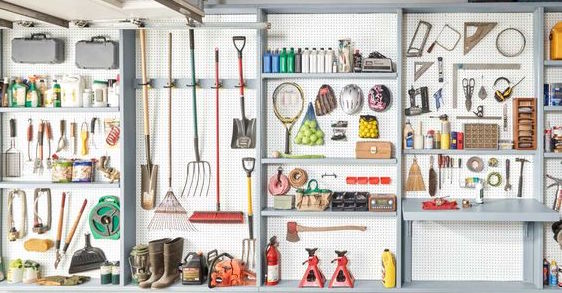
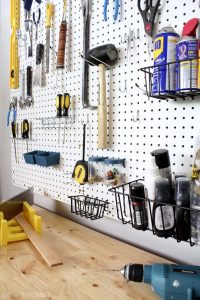 Making a Simple Pegboard
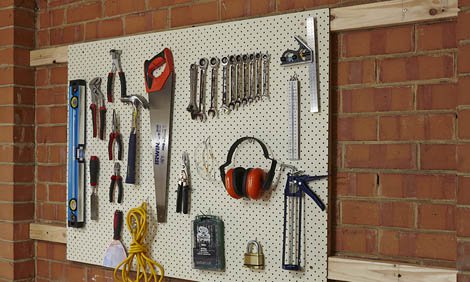
 Now a little tip, it’s actually easier to arrange your tools and peg positions before you mount your pegboard. Put your board on the ground or a large table that you can easily stand over and start to arrange your tools in the position you want them. It’s a little like a game of Tetris, trying to make everything fit together well. Take your time having a play around to get things in space you really like. Once you are happy with this, you can draw around each item with a black permanent marker. This will help remind you where everything goes and it will be easy to spot if something is missing. Once you’ve done that, pop your pegs into position then take off your tools and mount your board.
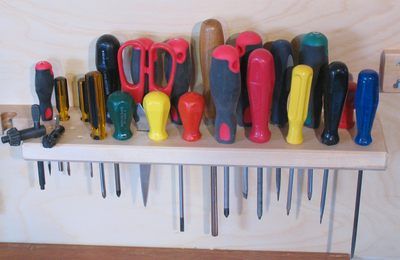
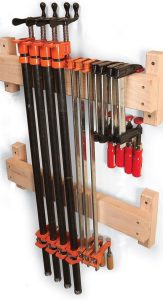 Making a Clamp Rack
 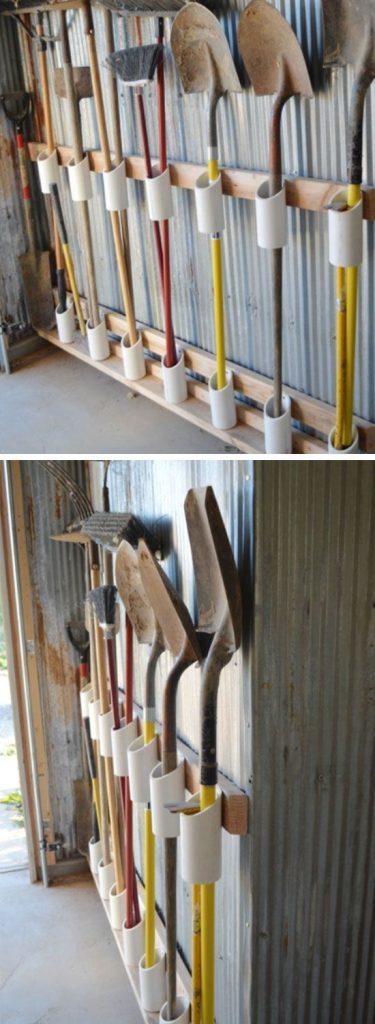 Making a Shovel and Rake Holder
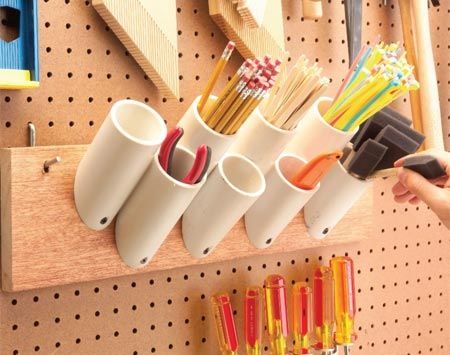
 Making Nail and Screw Jars
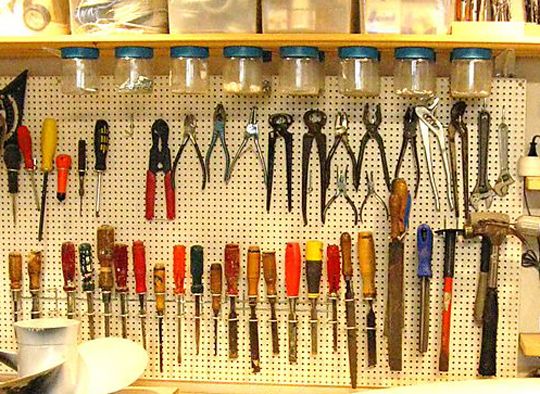
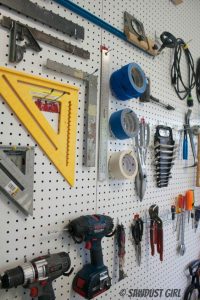
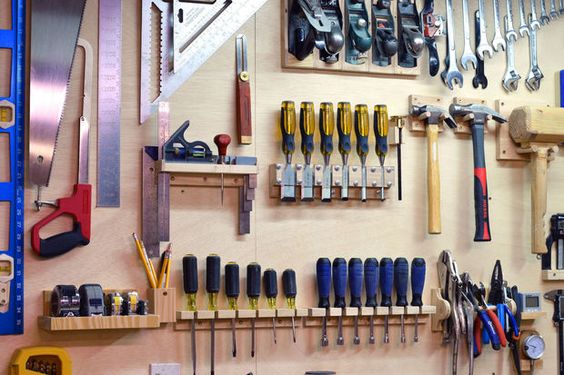
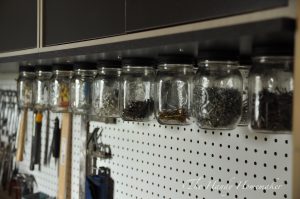
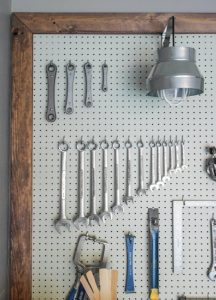 A Place for Everything and Everything in its Place
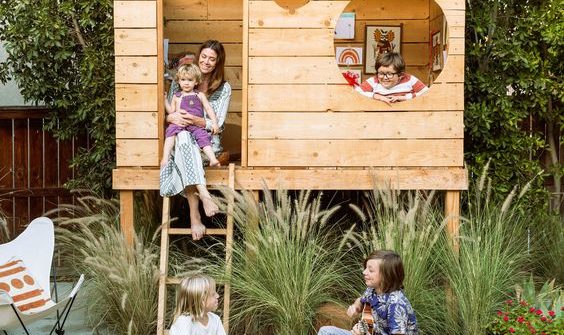
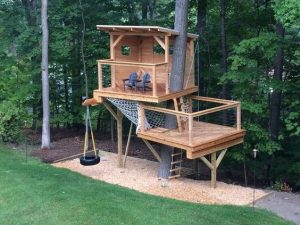

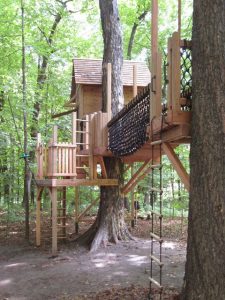
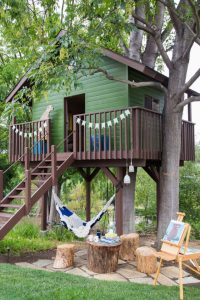
 These kinds of tree houses can be more on the expensive side, requiring more timber and supports for safety and quite time consuming as building anything off the ground will require a bit more effort, but if you are on a budget and want to be building something up in the branches there are other ways to make simple tree houses. If you have a bigger based tree with some great wide branches on it how about start with making a simple platform. Using pieces of wood nailed straight into the trunk you can quite easily make a ladder and then a small platform between branches. Even a simple frame like this can be captivating to children and if you don’t have the materials for a roof, try draping some old canvas or even sheets in the summertime to give it a bit more of a fort feel.


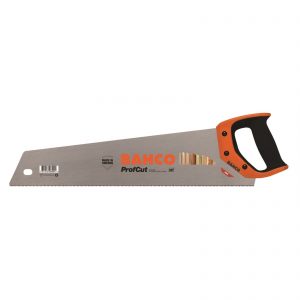 Bahco 500mm Precision Hand Saw

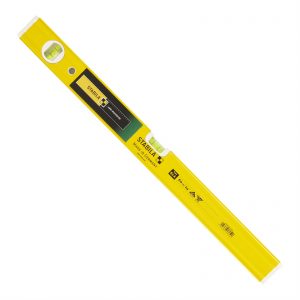 Stabila 600mm Spirit Level
 Buying a lawn mower is not always an easy decision. Lawn mowers are a bigger financial investment that most gardening equipment so you want to make sure you’re getting your moneys worth and the right lawn mower to suit your personal needs. A lawn mower should be something you own for years and that is a lasting product provided of course you keep up it’s maintenance. With lawn mowers there is not a one size fits all models and with yards coming in all shapes and sizes it’s important you are choosing one that will suit your garden needs and

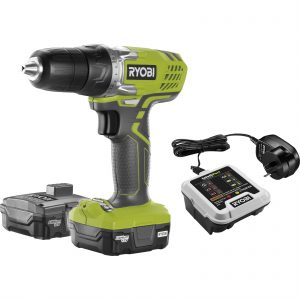
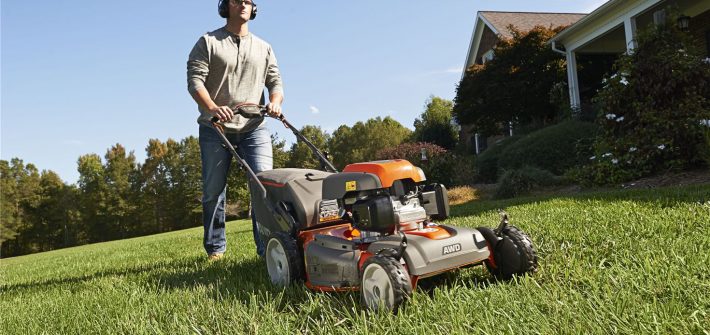
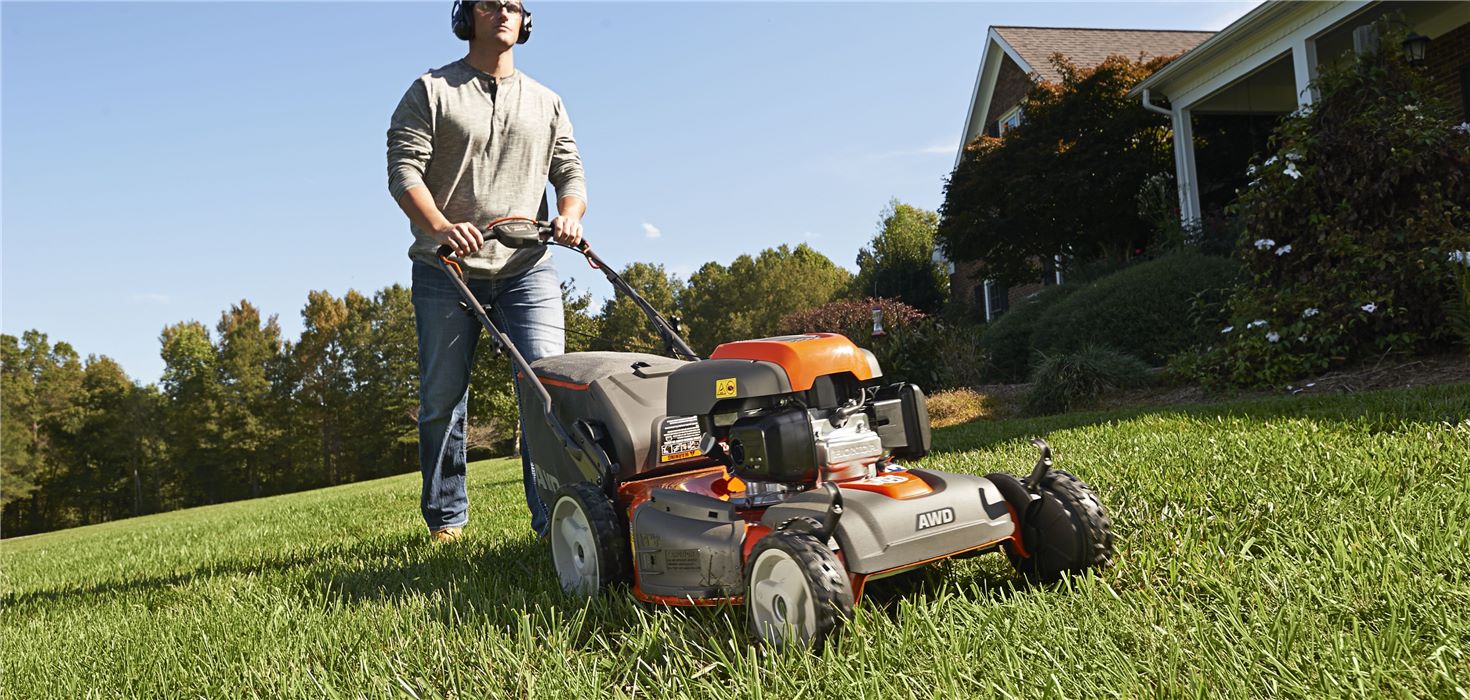
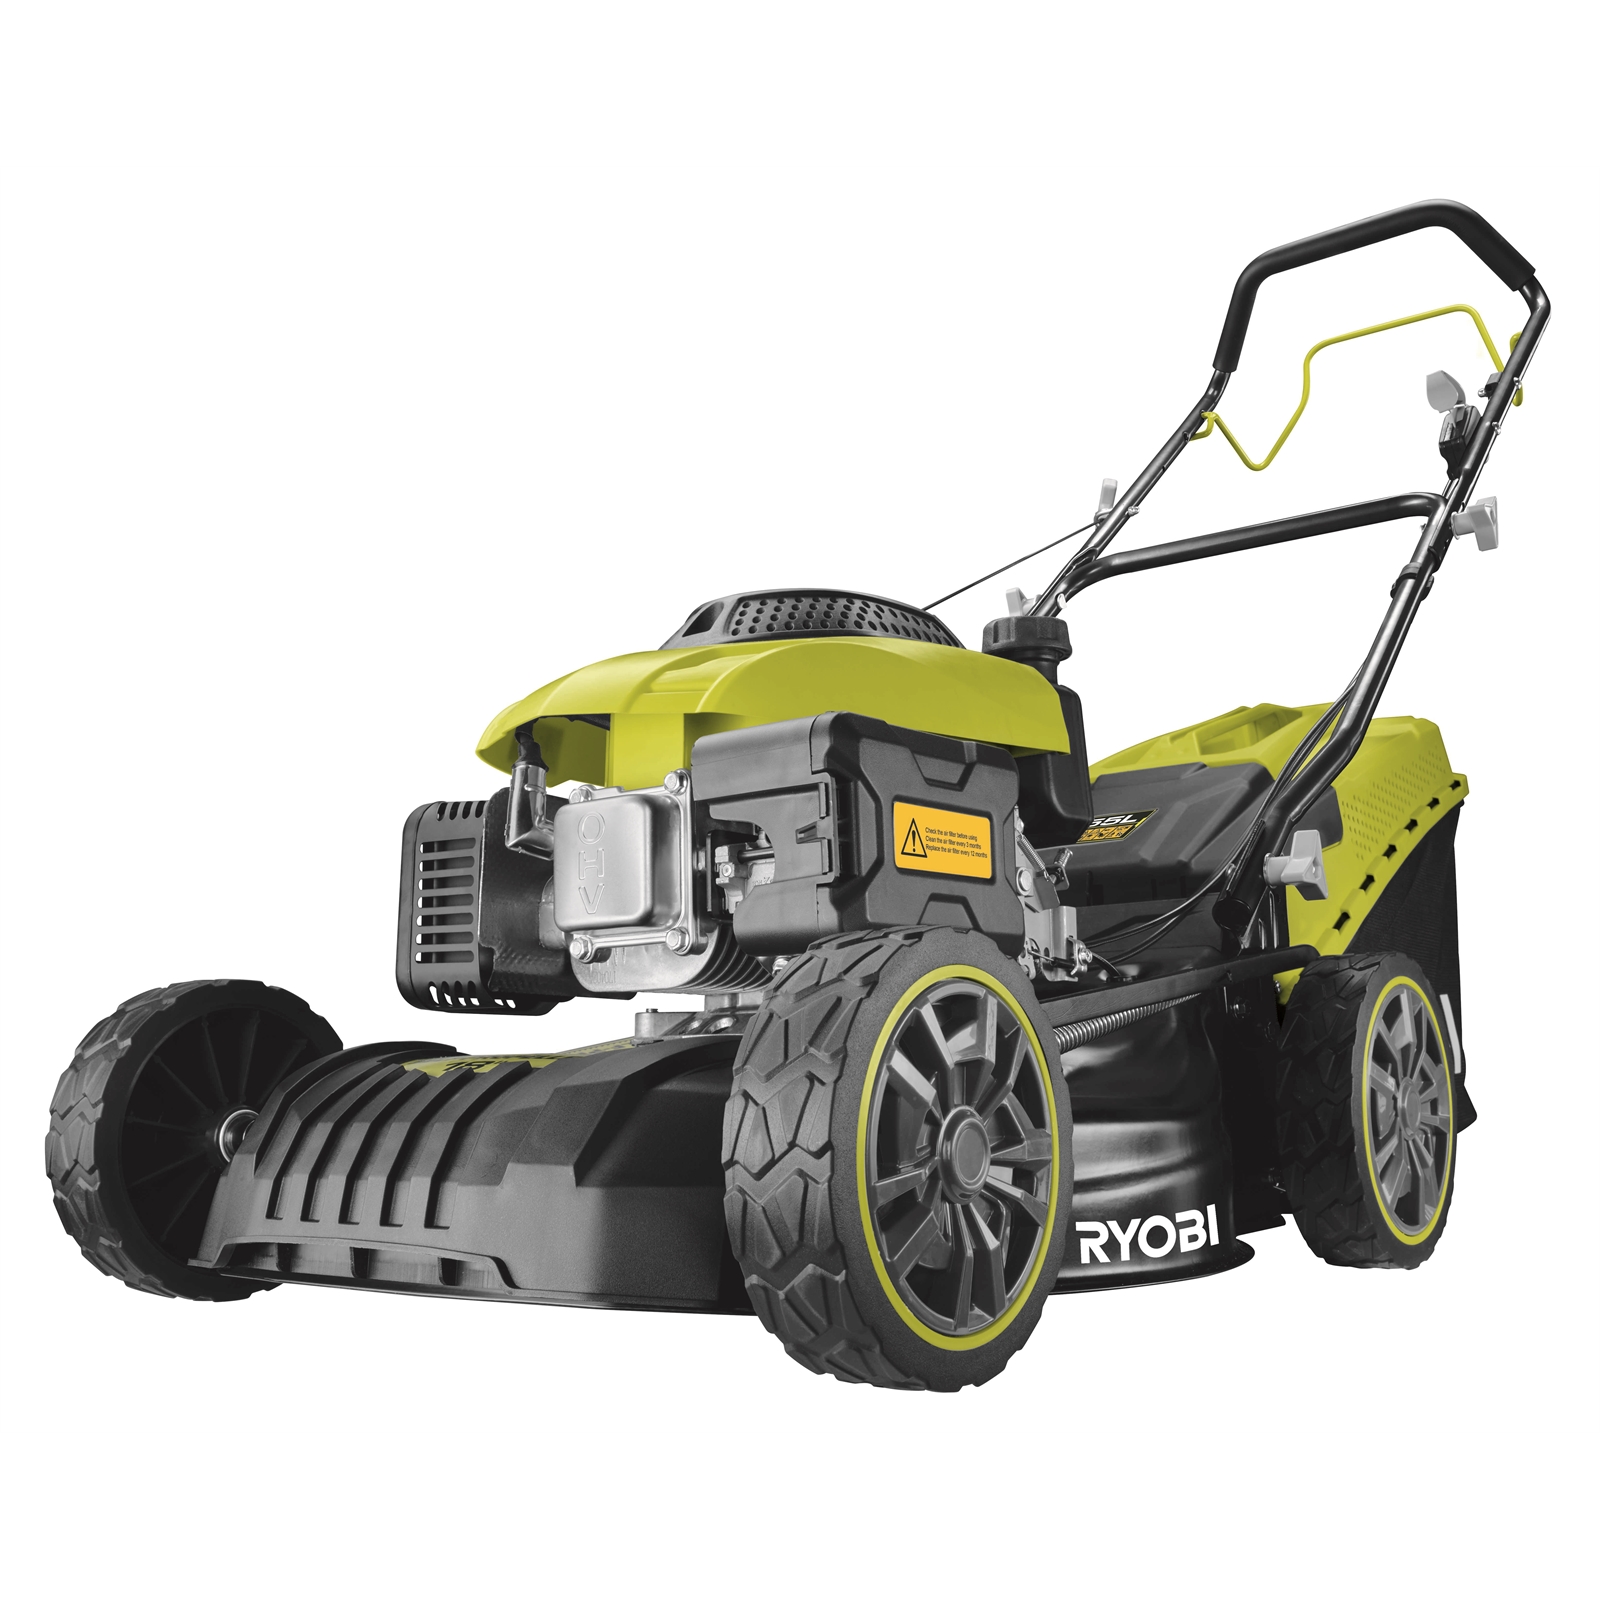 Ryobi 160cc 18in 4 Stroke Self-Propelled Mower
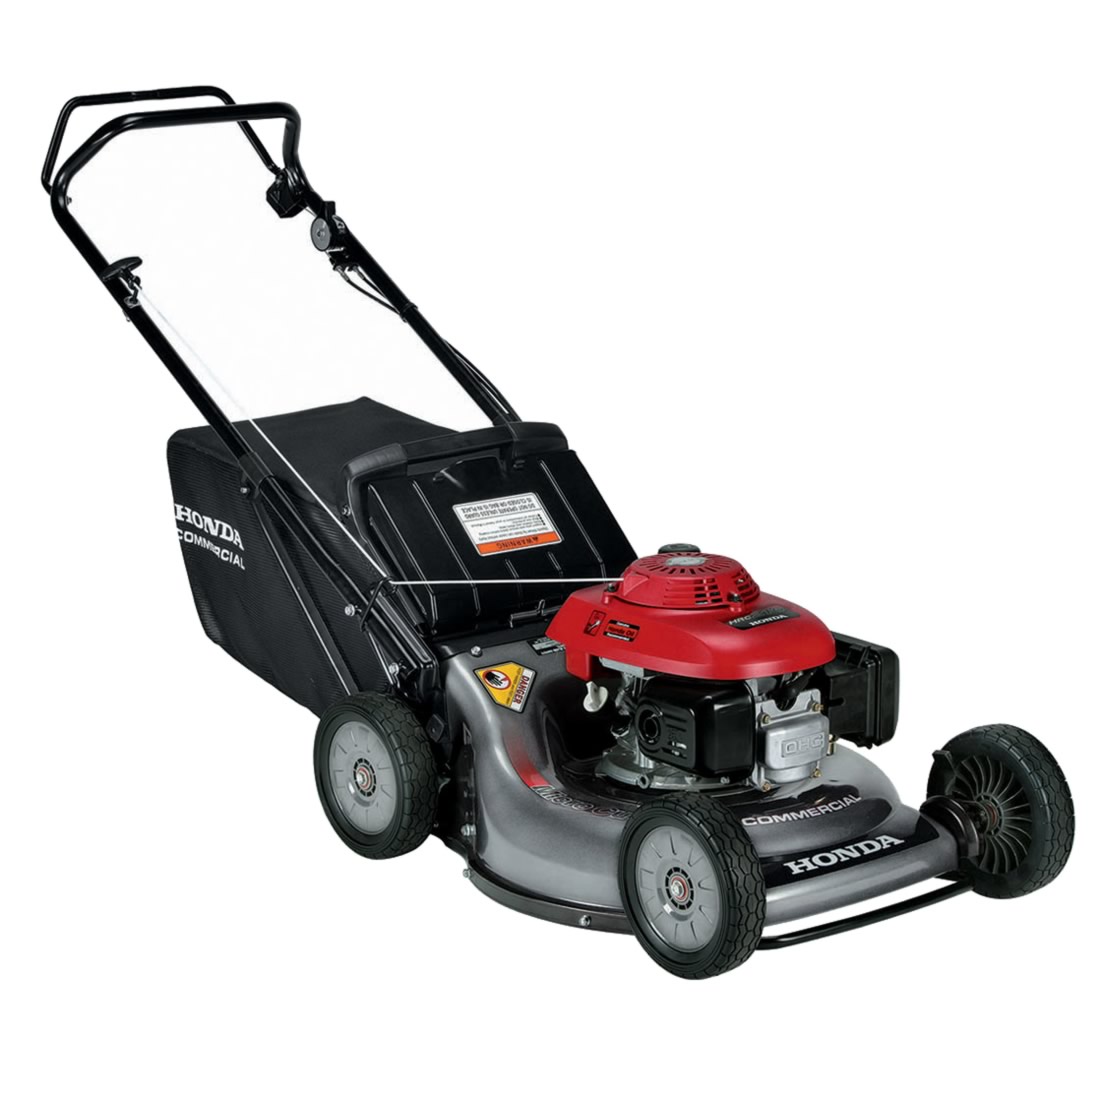
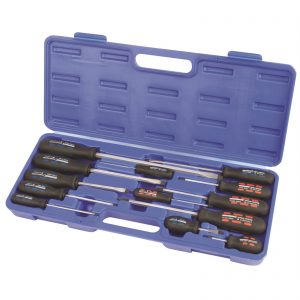
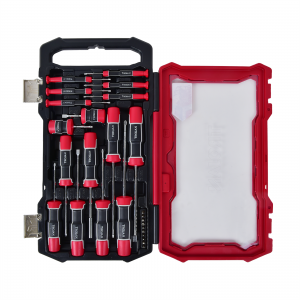
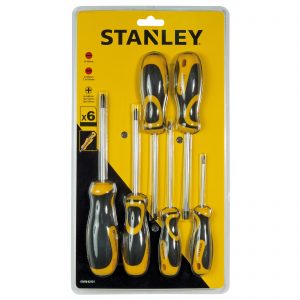
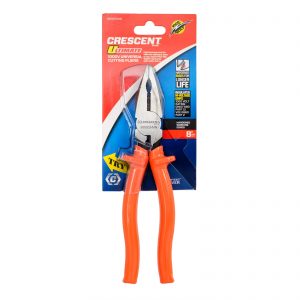
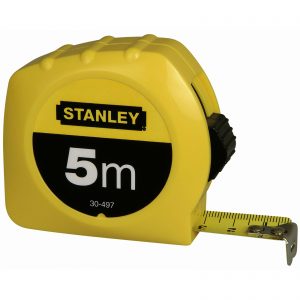
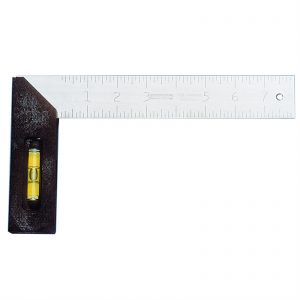
 It’s springtime again, the frost is abating and the birds are out and chirping. The cool of winter has left and with it comes the possibilities and excitement for the summer months to come. All of the blooms that will soon be out and the grass that will be turning greener unfortunately wont do it on it’s own and needs a little attention to get that spring garden blossoming. We would all love a garden that transitions from winter to spring without us having to lay a finger but that is not the way of the suburban backyard! They require our attention and love if our plants are to flourish. So to make the most of your spring garden it’s good to be equipped with the right tools. If you walk into a gardening center chances you will be all too quickly overwhelmed with choice. There is an appliance and piece of equipment for everything these days, no matter how simple, and cruising down the isles it can be hard to know what you really need and what is just a cheap gimmick or trend that will end up doing more time hanging on your garden shed wall that actually being useful. That’s why we’ve put together a list of the essentials of your spring gardening and maintenance. Discover what you will suit you and your garden style.